
By: Christine Tsai of @studybeanthings
Hello everyone! It’s Christine from @studybeanthings. Today, I’m going to show you how to create StudyGram notes that will not only help you in your coursework, but also be pleasing to look at! This tutorial will focus on creating notes for two types of subjects: one that is text heavy and one that requires diagrams. Plus, I’ll give you some tips and tricks to organize your notes in way that will optimize your studying.

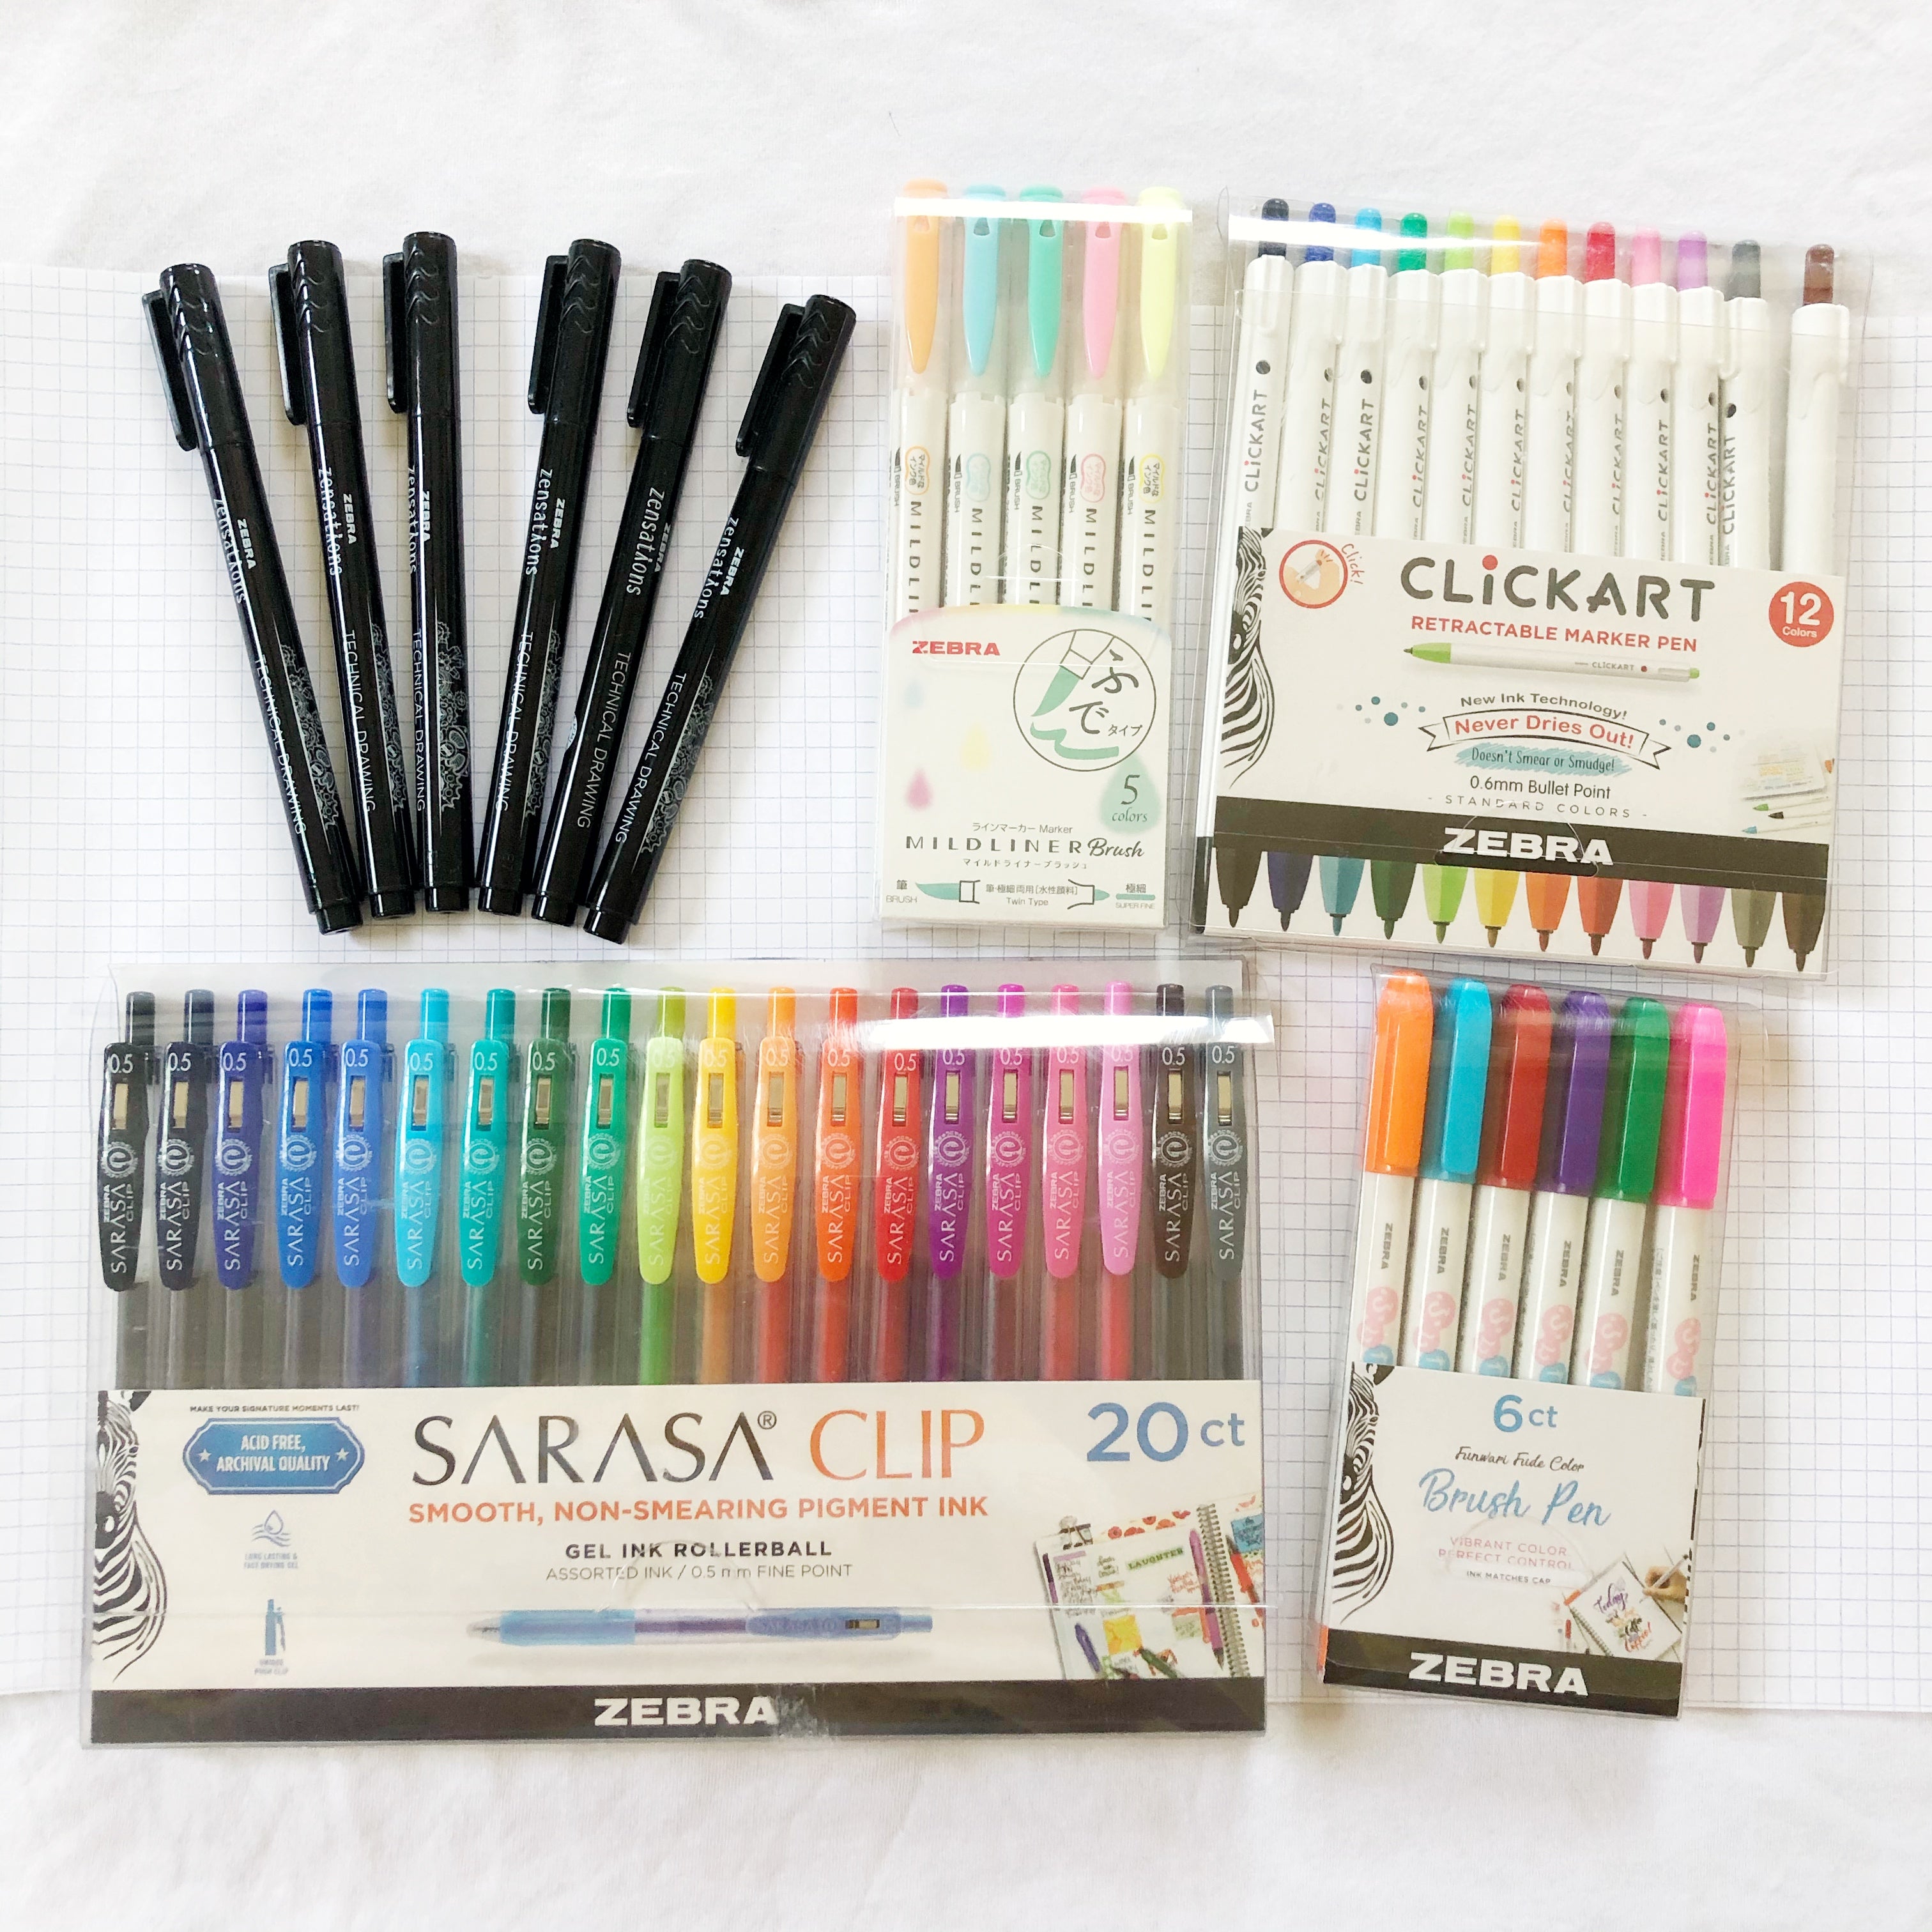
Gather Your Materials
- Any type of paper (I prefer graph paper)
- MILDLINER Brush Pens
- SARASA Clip Gel Retractable Pens
- CLiCKART Retractable Marker Pens
- Funwari Fude Color Brush Pens
- Zensations Technical Drawing Pens
Text-Heavy Subject Notes Tutorial

Step 1: Create Your Title
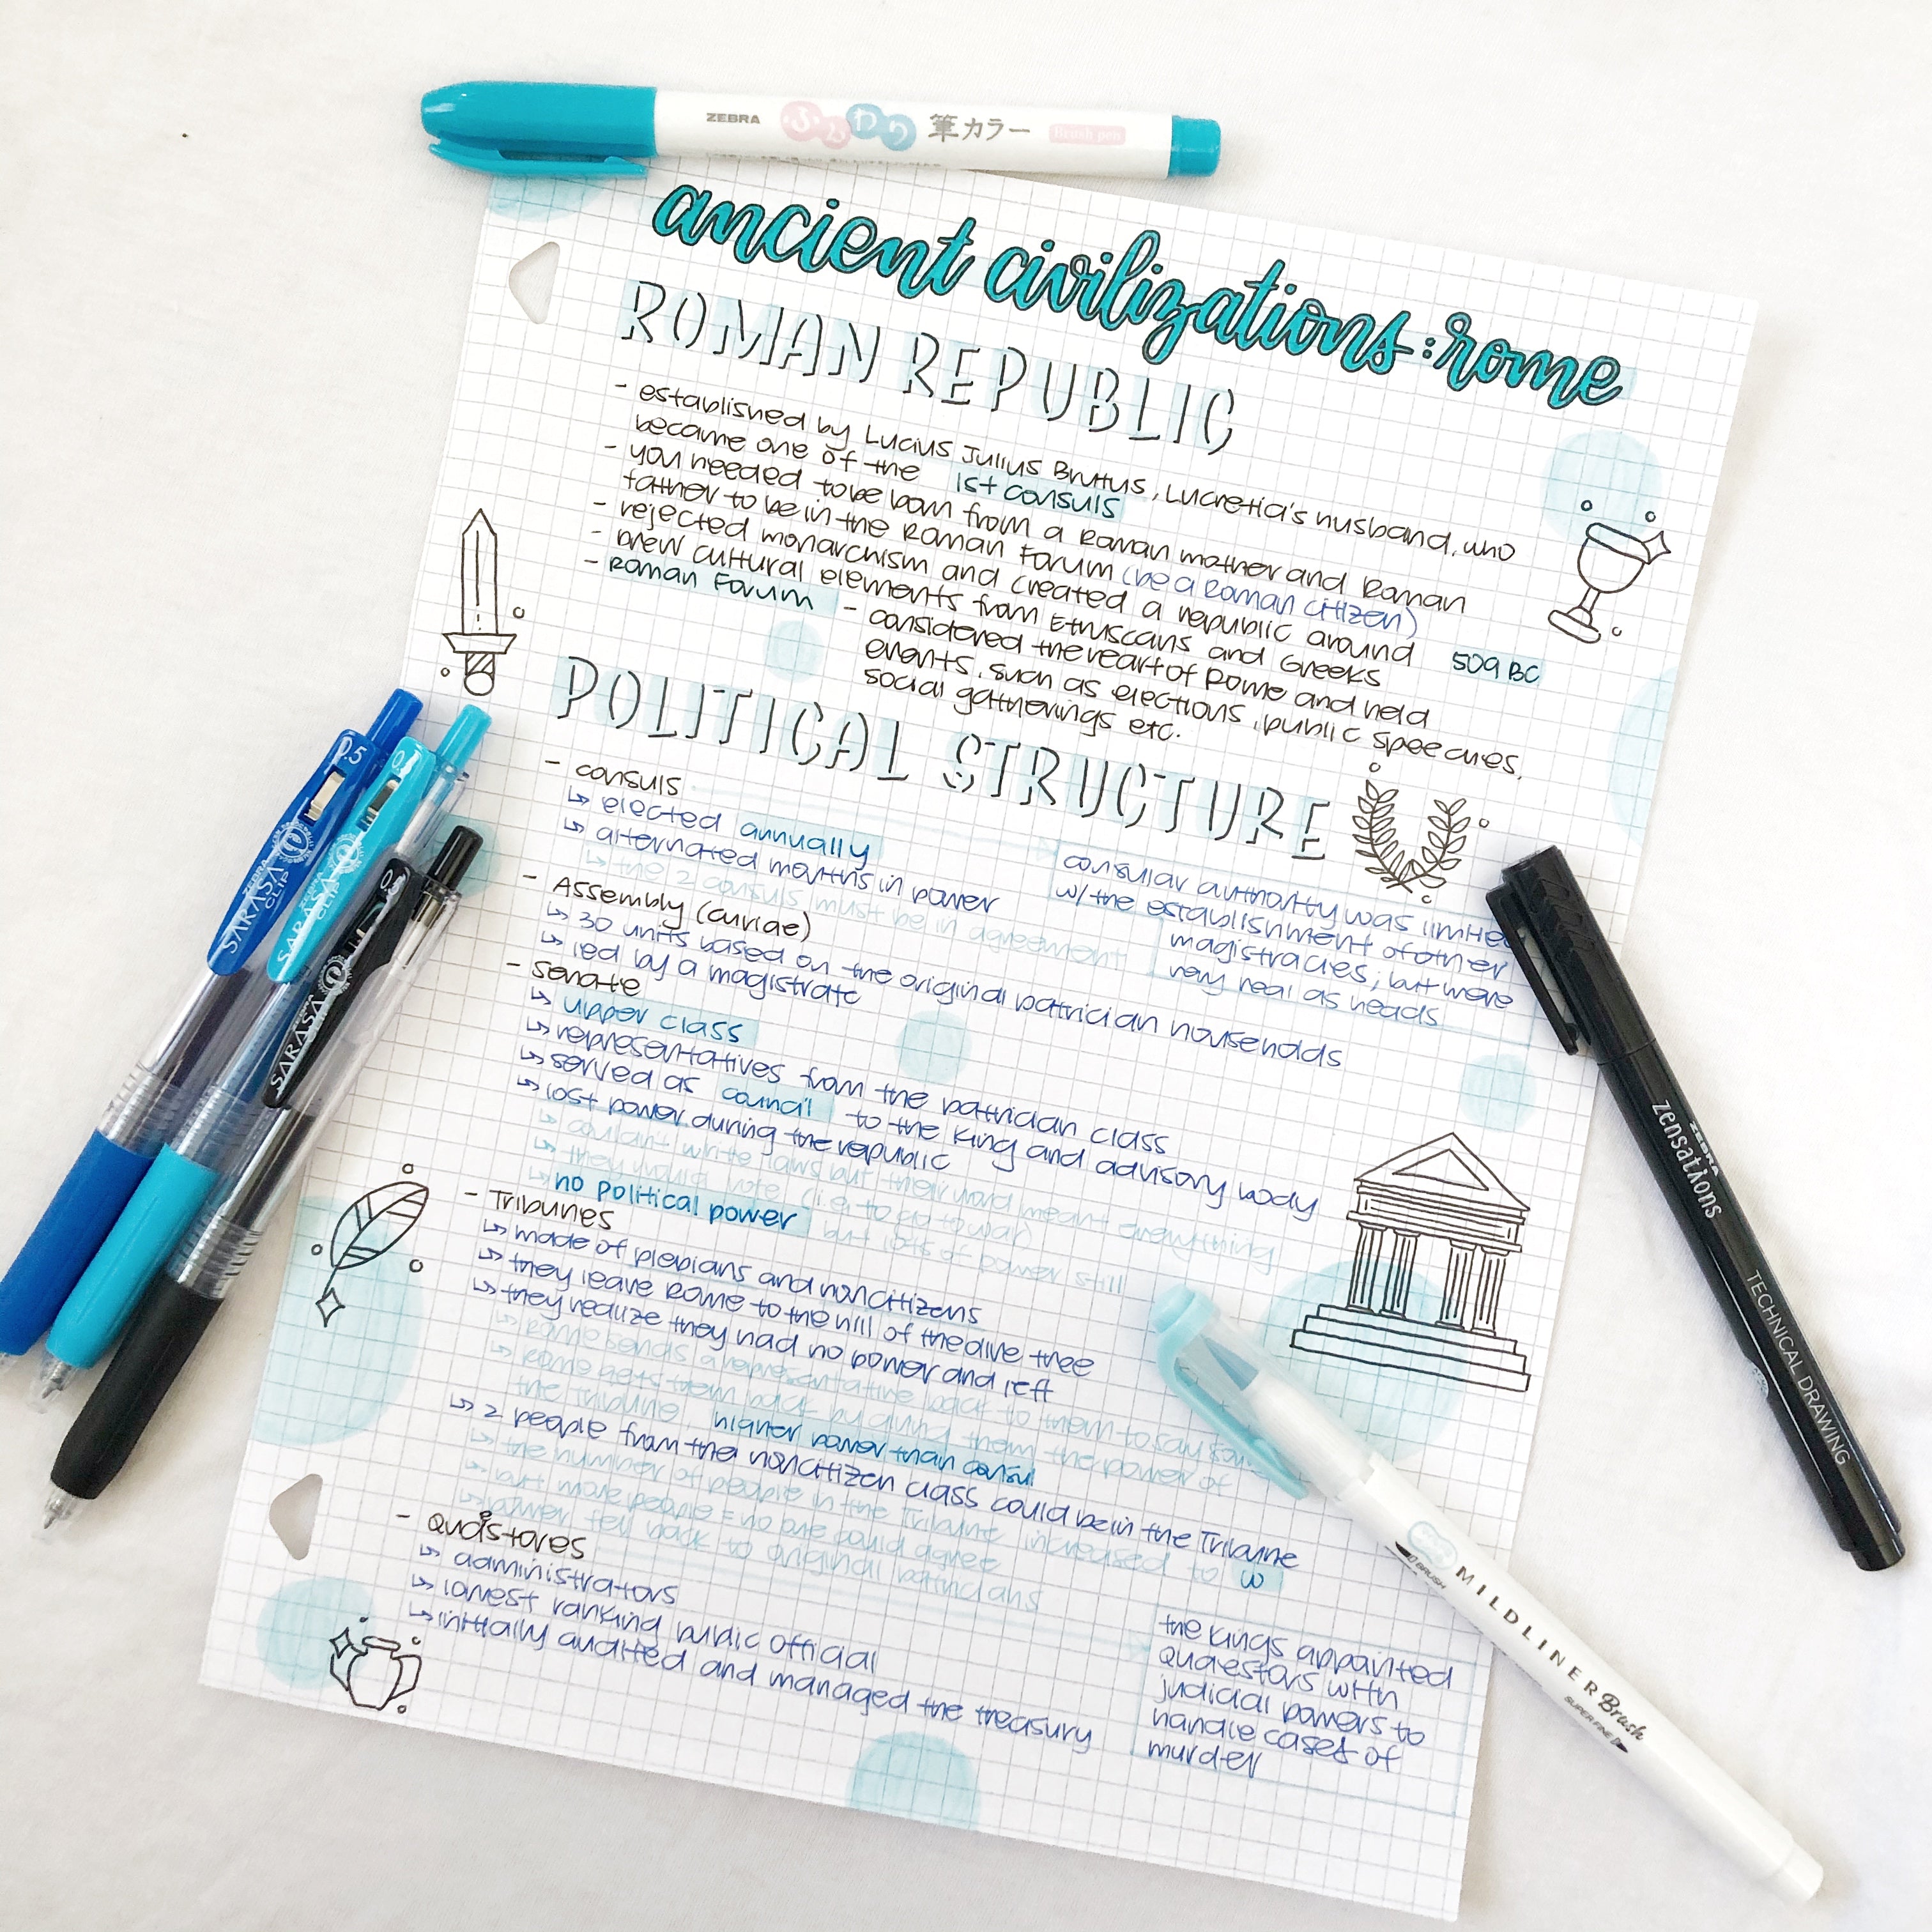
When creating StudyGram notes, I usually mesh the information gathered in-class with necessary information from the textbook, so everything exists in one place to return to in the future.
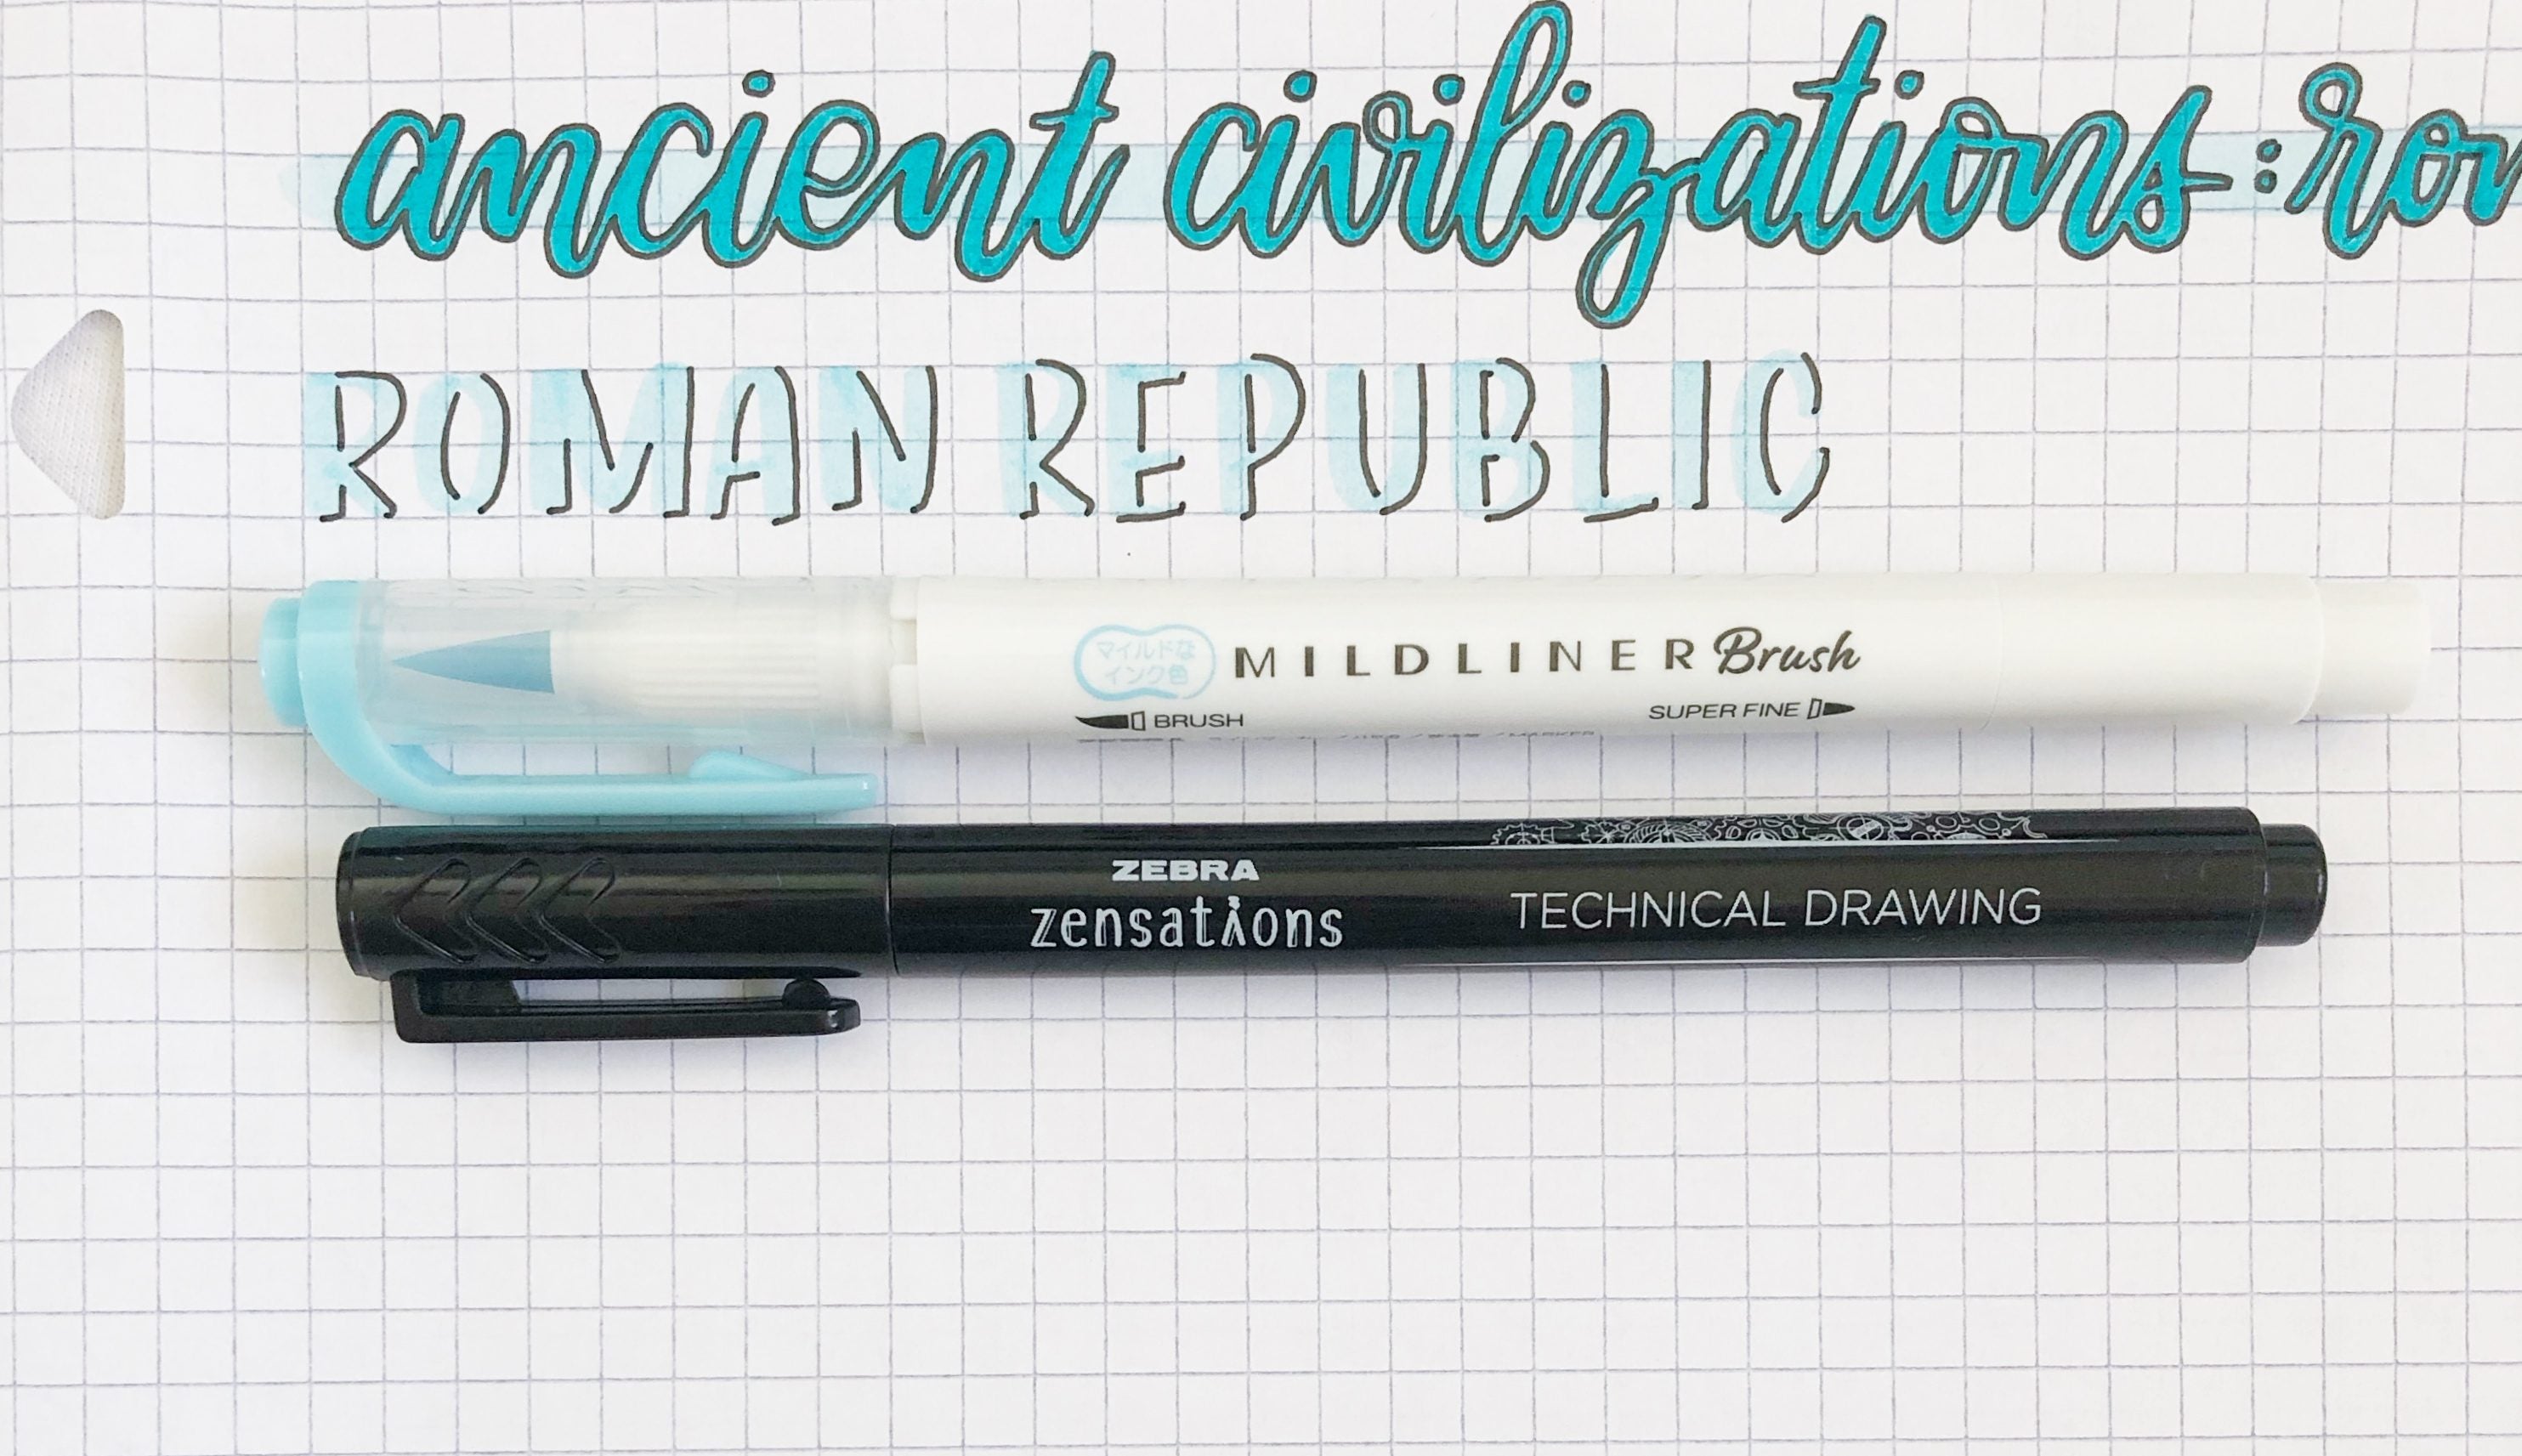
I always start my notes off with an eye-catching title. To do this, I used the Mild Blue MILDLINER Brush Pen from the Fluorescent 5 Pack to draw a line across the top of the page so the title could stand out even more. Throughout this tutorial, you’ll see me using the MILDLINER Brush Pens often because I love that they’re so versatile, as I’ve used them to highlight, color, hand letter, etc. There are 15 available colors of the MILDLINER Brush Pen, so there are endless colors to use!
For the next step, I used the Blue Funwari Fude Color Brush Pen to hand letter the title. I enjoy using these brush pens because the brush tip has incredible control. I decided that I wanted some more contrast in the title so I used the 0.4mm Zensations Technical Drawing Pen to outline my hand lettering. The Zensations Technical Drawing Pens are awesome for if you want precision in your artwork.

Step 2: Write Your Subtitle
Throughout your StudyGram notes, you will have many sections and subsections that need defining, so it’s important to indicate them clearly to prevent future confusion. Your subtitles should also be different to your title. For this, I used the same Mild Blue MILDLINER Brush Pen as before to write the subtitle in capital letters and used the 0.4 mm Zensations Technical Drawing Pen to give the letters some dimension.

Step 3: Knowing When to Highlight
Highlighting can be quite tricky because you don’t want to overdo it. With subjects that require lots of vocabulary, you’ll want to highlight the vocabulary words. In the subject I’m demonstrating, there weren’t many vocabulary words, so I highlighted names, places, and dates that were important. I used the same Mild Blue MILDLINER Brush Pen as before to highlight. These pens are also double-ended with a fine tip marker on the other side! I used the fine tip side to underline phrases associated with the highlighted word.

Step 4: How to Structure Your Text
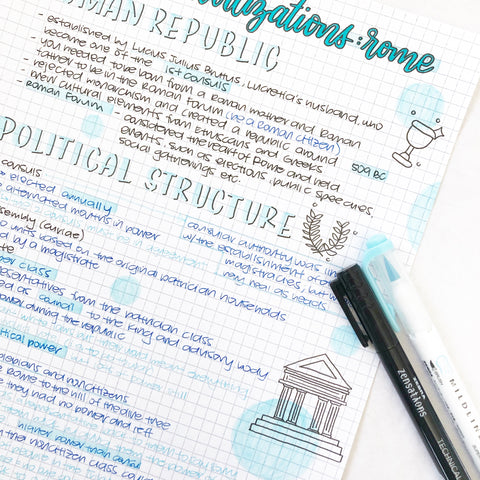
With text-heavy subjects, you’re going to do a lot of color coding. Following the blue theme of these notes, I used the Black, Cobalt, and Light Blue SARASA Clip Gel Retractable Pens for the text. These pens are especially awesome for notes because they dry fast, so you don’t need to worry about smearing.
Within your section, you’ll have categories, which I indicated using dashes and the Black SARAS Clip. I used the Cobalt SARASA Clip to write the main information of the category, indicating them with arrows. To add more information, I used the Light Blue SARASA Clip. Basically, as your information goes from broad to specific, you can use dark to light shades!

Step 5: Adding More Information
If you forget to add something, no problem! Find a spot where there’s space and draw a box to put the text in there, as shown above.
Step 6: Doodle Time!
After finishing your notes, you can take the time to draw some doodles! I used the Mild Blue MILDLINER Brush Pen to draw some spots all over the page to add interest and keep the colors cohesive. Then, I used the Zensations Technical Drawing Pen to draw some small drawings that match the subject of the notes. And there you go! You’re finished with your text-heavy notes!

Subject with Diagrams Tutorial

Steps 1 and 2: Creating Your Title and Subtitle
These first two steps are the same as in the Text-Heavy Subject Notes Tutorial above! The only difference is that my color scheme for these notes are orange, so I used the Mild Orange MILDLINER Brush Pen and Orange Funwari Fude Color Brush Pen.

Step 3: Create Tricks to Memorize
With diagrams, which are more common in science subjects, it’s easy to mix up words or information. I like to make up silly ways to remember. One example of this is that dendrites bring in messages (d “in” drites), and axons send out messages (ax “out”). Figure out what works for you! I used the Black and Orange SARASA Clip Gel Retractable Pens to incorporate them (Black for the main text and Orange for the memory trick).

Step 4: Adding Your Diagram
You can decide to either print your diagram out and glue it in, or to draw it yourself! If you decide to draw your diagram, sketching it out with pencil first is the best way to go. I used the CLiCKART Retractable Marker Pens to color the diagram. These markers are extremely vibrant and useful for small areas because they have a fine tip! Plus, because they are retractable, it’s easy to change from one color to another without recapping each time.

Step 5: Labeling Your Diagram
To label the diagram, I used the Black SARASA Clip for the text and the Mild Orange MILDLINER Brush Pen to highlight the vocabulary words. If there is any extra information you’d like to add, use another color pen to do so. I used the Orange SARASA Gel Pen add an extra tidbit. Now, you’re done with your Diagram Notes!
I hope you’re feeling inspired to create your own StudyGram notes to help you in your studying journey. For more creative tutorials, check out How to Create a Mind Map and Brain Dump in Your Bullet Journal.